Sunflowers (Helianthus annuus) are celebrated for their bold geometric structure and cheerful summer radiance. Unlike the delicate nested curves of a rose, a sunflower's anatomy consists of a massive central disc of tightly packed disc florets surrounded by a vibrant halo of radiating ray petals.
Step-by-Step Sunflower Drawing Breakdown
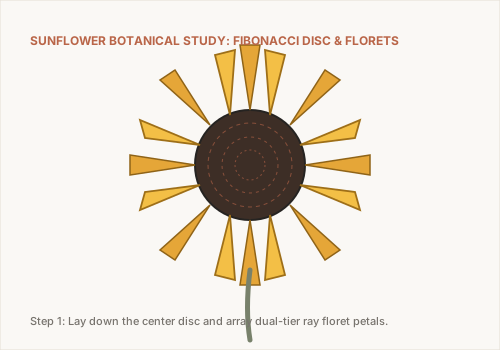
Construct the Center Disc Guidelines
Lightly draw a large circle or ellipse (depending on whether you are viewing the sunflower head-on or at an angle). This disc occupies roughly half the total diameter of the flower.
Lightly sketch a concentric outer guideline circle to define the maximum reach of the ray petals, ensuring your flower remains balanced and symmetrical.
Array the First Layer of Ray Petals
Draw pointed, elongated petals radiating from the outer edge of the center disc to your guideline ring. Sunflower petals are slender at the base, widest across the middle, and taper to a soft tip with subtle lengthwise creases.
Leave small gaps between these primary petals; you will fill them in the next step to create dense floral volume.
Fill the Secondary Interlocking Petal Layer
In the gaps between your first layer of petals, draw a second tier of petals nestled slightly behind them. Vary their angles and tip curves slightly to make the flower feel alive and organic rather than mechanically stamped.
Allow a few petal tips to twist or overlap naturally, mimicking the way real sunflowers react to breeze and gravity.
Texture the Center Disc and Add the Stem
The central seed head features a mesmerizing spiral pattern (the Fibonacci sequence). Rather than drawing individual seeds, stipple dense dots and cross-hatching around the outer rim of the disc, leaving the exact center slightly lighter.
Draw a sturdy, fibrous stem dropping from behind the bloom, accompanied by broad, heart-shaped leaves with serrated edges and prominent veins.
Explore Related Drawing Tutorials
Discover our guide to How to Draw a Rose or explore landscape compositions in our Landscape Drawing Hub.